Activities for Social Isolation: Making Cultured Butter (It’s Easier Than You Think!)
I wasn’t planning on going through social isolation a week ago, but the community I live in has been affected by COVID-19 and so here we are. Fortunately, I usually spend my weekends inside my house doing all kinds of fun things (who knew I was so trendy doing social isolation before it was a thing?), and this weekend I was planning on making some cultured butter. If you haven’t used this, it goes great either on toast or as a finishing butter. For baking or cooking, I just use regular store-bought butter (because I’m only putting in the time to make butter if it’s worth it).
First of all, let’s be clear, “social isolation” does not mean “never leaving your house or interacting with others.” That would be an extreme measure closer to quarantine. It just means, mostly stay at home and try to stay away from large groups of people. So, don’t go to bars, but if you need to go to the grocery store or walk your dog down a non-crowded path, that’s OK.
Making Cultured Butter (Skill Level: Easy)
I know a lot of people learned how to make butter either in school (we put a little heavy cream in a jar and shook it up until it separated). But if you want to next-level that skill, learn how to make cultured butter! It’s easier than you think and adds an extra level of flavor to your morning toast.
Food Ingredients:
4 cups heavy cream
1/4 cup plain yogurt (I use Greek but that’s not required)
1/2 tsp fine salt
Ice and water
Equipment:
Cheese cloth
Electric mixer (you can hand whisk or shake in a large jar if you want but I wouldn’t recommend)
Fine mesh strainer/colander
Spatula
First, whisk together your yogurt and heavy cream in a bowl until combined. Cover the bowl and leave it at room temperature in the dark for 12-36 hours. (If you check on it, you’ll see it gets thick and foamy.) Right before you’re ready to make butter, put the cream in the fridge for an hour to chill it a bit.
After the incubation, use a mixer on high to whip the cream until it gets past the point of whipping cream and separates into butter and buttermilk. (The separation process is cool to watch, so it’s a good science experiment for kids as well!) I use a stand mixer and I just drape a tea towel over it so that the splashes stay off my counter.
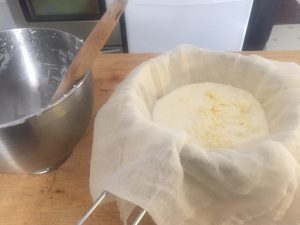
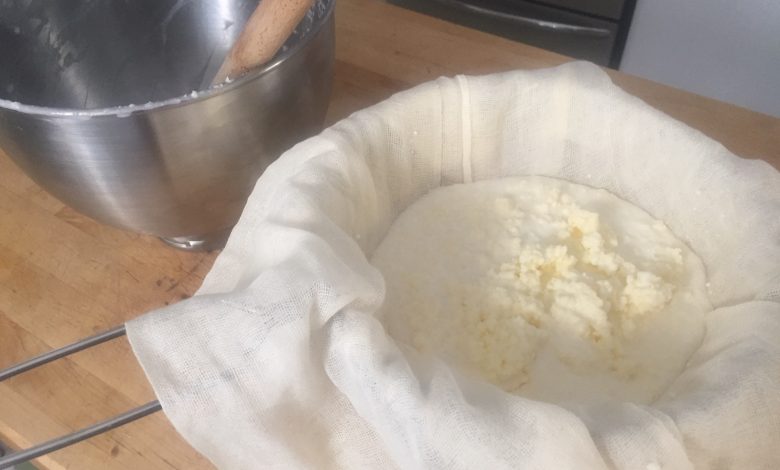
Line your strainer with 2 sheets of cheesecloth. Once the butter separates after whipping, slowly pour everything into the lined strainer and wait for the buttermilk to drain out of the butter. You can press on the butter with a spatula if you like. Once it’s mostly drained, pull the cheesecloth up around the butter, and give it a gentle twist to squeeze out as much liquid as you can. (Save the buttermilk in a container in your fridge for later! You can use it in anything that requires buttermilk–my favorite is to make buttermilk blueberry muffins.)

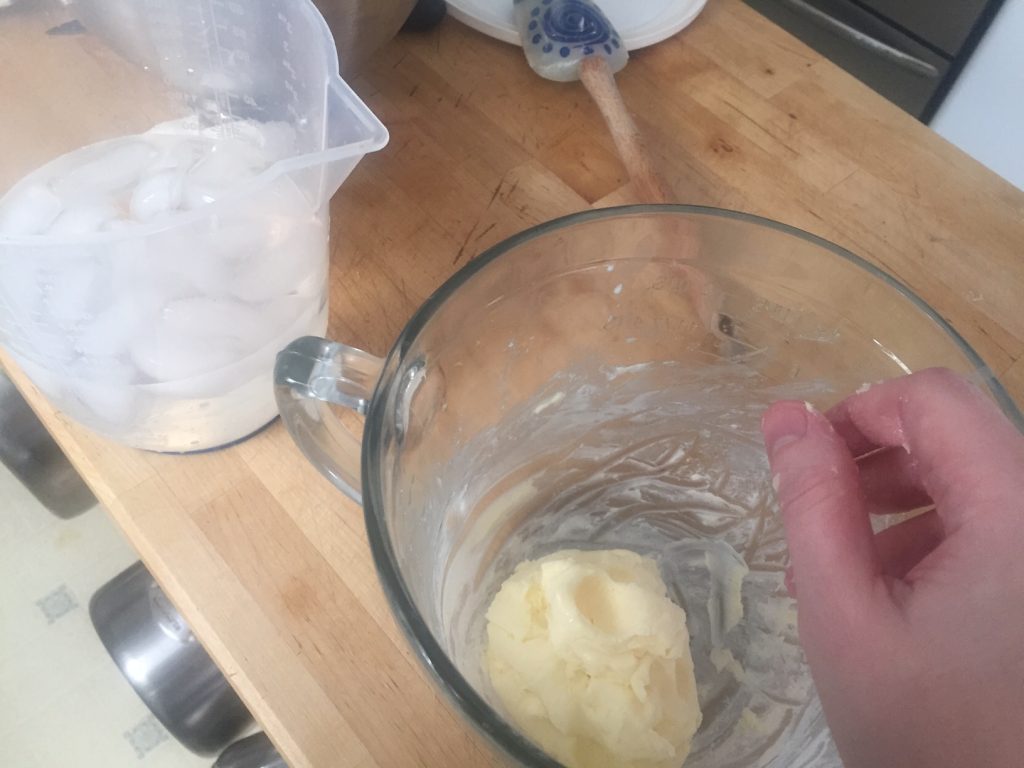
Now you’re going to knead the butter in ice water. This helps to cool and solidify the butter and removes excess buttermilk to prolong the shelf life. Don’t skip this step! Add some water to a bowl of ice (~ 2 cups of ice with 6 cups of water, add more or less as needed). Open the cheesecloth and drop the butter in a large bowl, scraping out extra butter from the cloth with the spatula if needed. Pour 1-2 cups of ice water over the butter. Use either your hands (my preferred choice) or the spatula and knead the butter in the water for a minute. Pour out the cloudy water (you don’t need to save this). Add another cup of ice water to the butter and repeat, until you pour out mostly clear water (this may take 4-6 times).
Sprinkle in your salt over the butter and knead one last time (add more to taste if you like). Note: don’t be a fool like me and add salt to the unseparated butter or you will end up with salty buttermilk and bland butter.
Shape your butter (if you like) and put in a container (I like to wrap up in parchment paper). Keep in the fridge until you’re ready to use for the first time. After I use my butter, I leave it at room temperature (covered) and it stays good for 1-2 weeks (I don’t know about past that because we use it up).
Maybe you can taste a difference, and maybe you can’t, but either way it’s really cool to be able to make something, plus it’s a fun long activity that I save for the weekends. I hope you enjoy it as well! (Probably don’t share it with your friends if you’re trying to avoid coronavirus, and use all hand-washing precautions!)