How to Be StarLord/StarLady for Halloween, Cosplay, or Because It’s Monday!
A few months ago, I saw Guardians of the Galaxy and immediately decided that I had to cosplay as StarLord at DragonCon. I’ve dressed up for a few previous cons, like being Alex Vause at SkepchickCon, but for this one I decided to get a little more hardcore. A number of people asked me for advice, so I figured that with Halloween coming up quickly, I should post this how-to!
The Helmet!
First up: the helmet. This is where I put all my energy. I figured that if I made a decent facsimile of the helmet, I could get away with half-assing the rest. This was important, because I only had a few weeks until DragonCon, and also sometimes I get distracted and stop caring about things halfway through.
After some serious Googling, I found this awesome cosplaying forum where I learned about Pepakura, a super-fun free program that helps you print out and fold 3D models that you or others build. Some very talented and generous RPF forumites created the models and released them for free, including a few models that were specifically designed for foam instead of paper.
I downloaded one of the foam models, opened it in Pepakura, and printed it out. I didn’t really check the scaling, which was stupid. It seemed right, and in the end the helmet fit me exactly because I am one lucky mamma jamma.
Then I went to Home Depot and bought some EVA foam. This was super confusing but eventually I figured out that I needed to get those large, colorful foam interlocking squares they sell for lining workspaces.
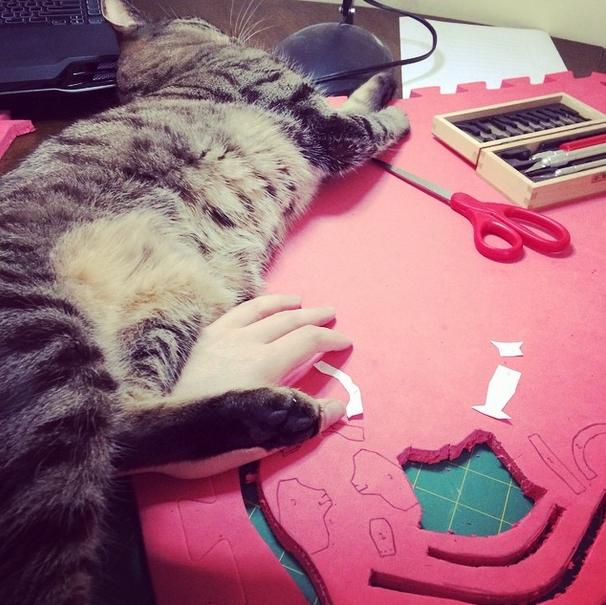
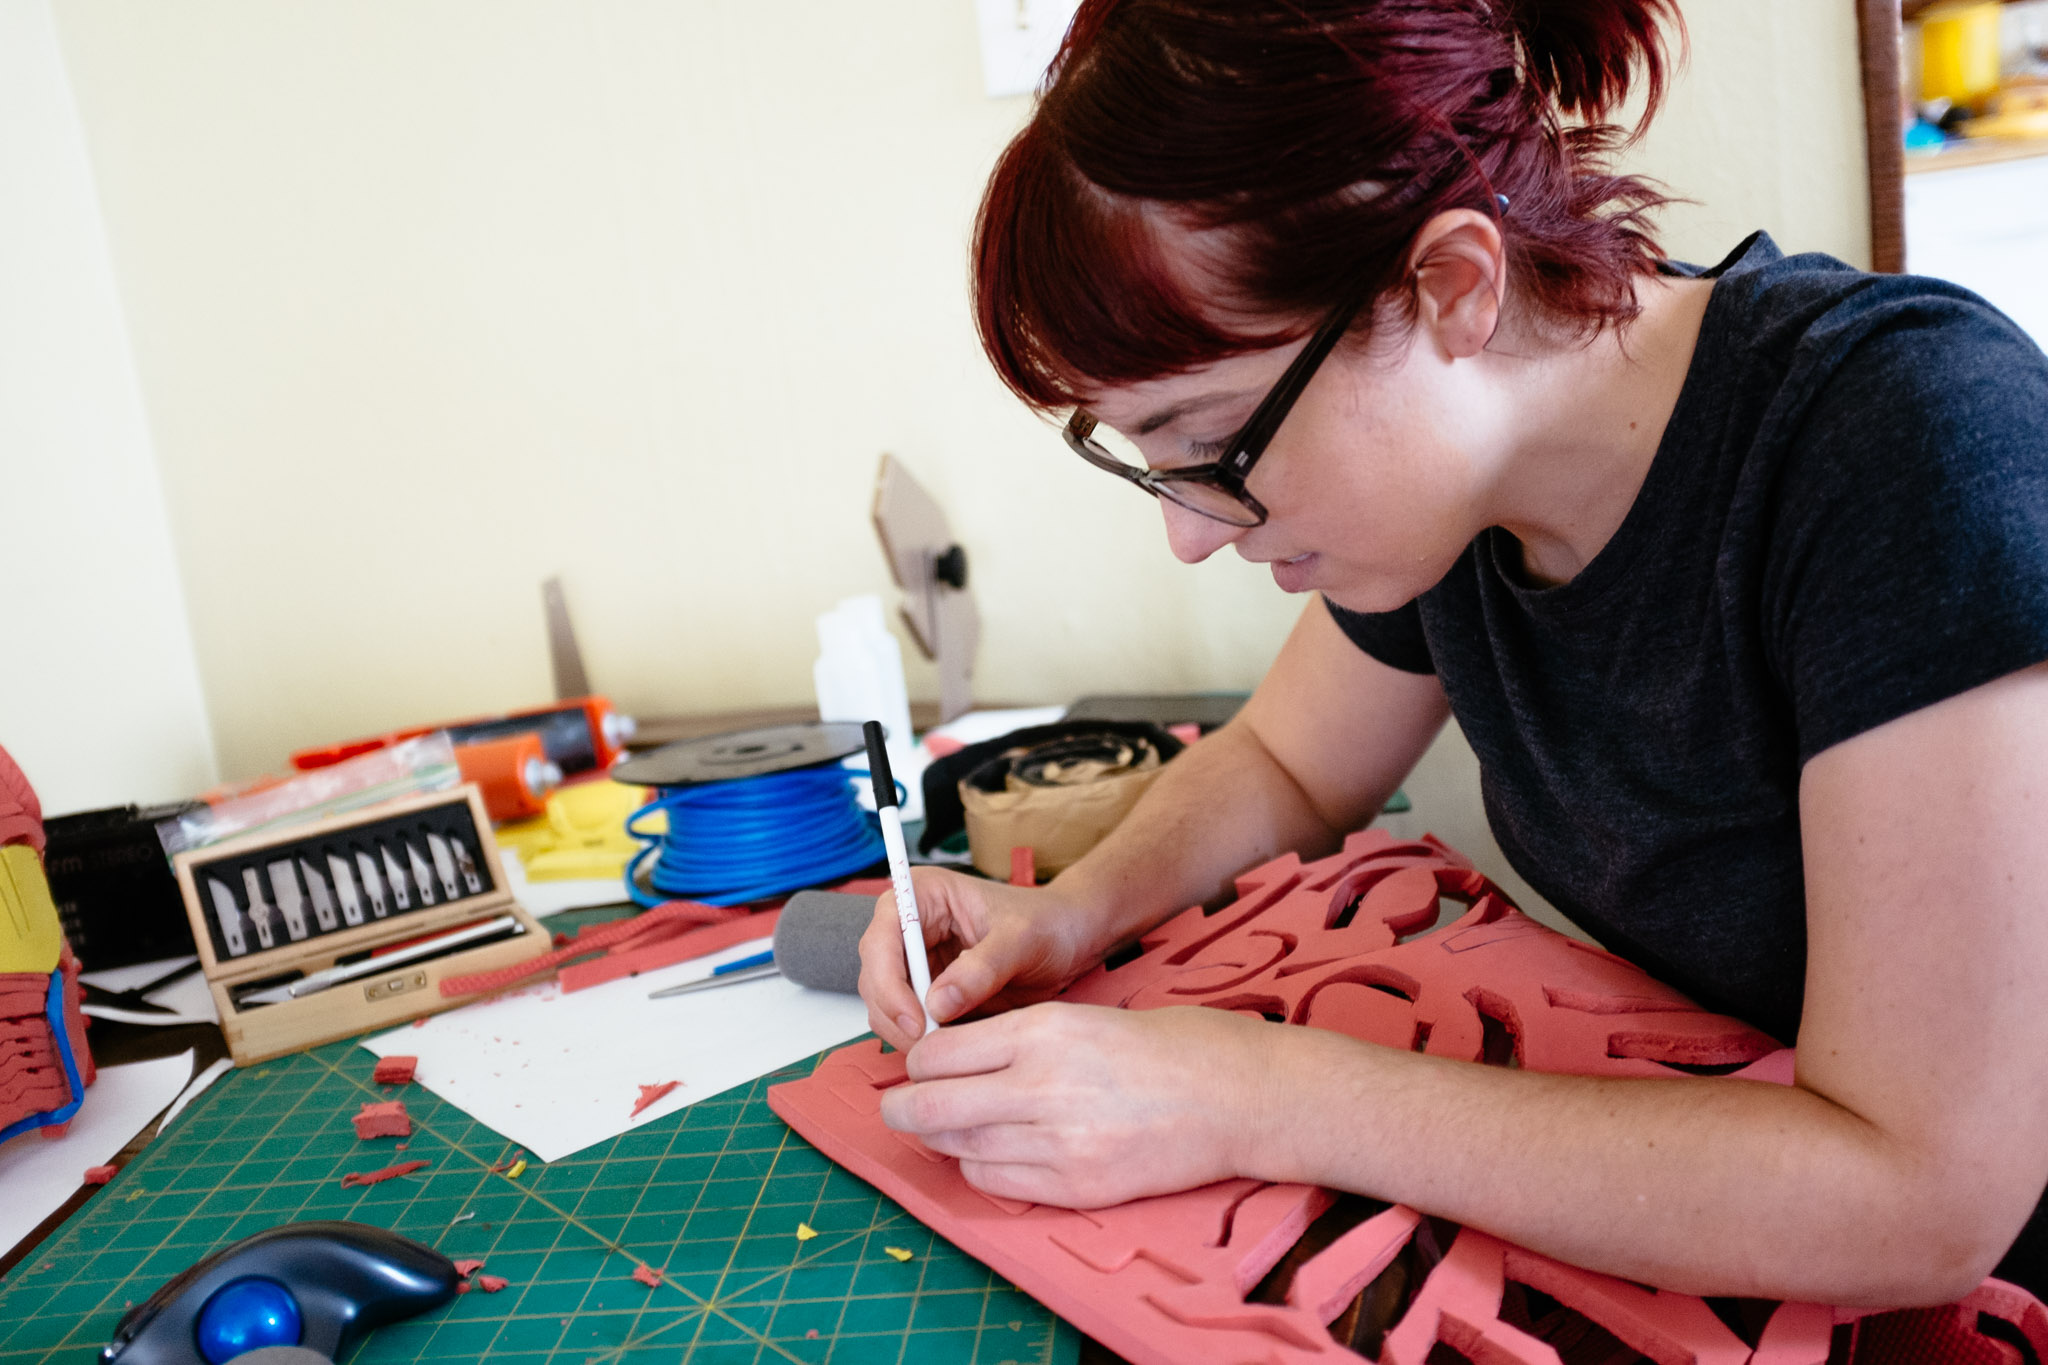
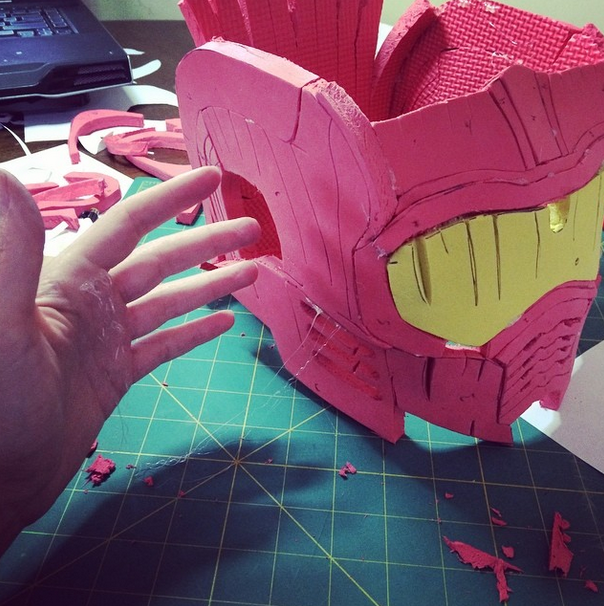
I then cut out each piece in the model (with scissors), laid it on the foam and outlined it in pen, then cut the figure out of the foam (with an X-acto knife, which needed a new blade every 10 pieces or so). Here, you can see what this process looks like with and without a cat:
I made the mistake of cutting out everything before I started gluing. Don’t make my mistake. Cut out and glue as you go, because you’ll find a lot of tiny pieces that you’ll end up skipping entirely to replace with other bits of foam or tubing or whatever you have around the house.
But eventually, I started gluing using my hot glue gun. I burnt myself a lot, but it doesn’t hurt that bad and made me feel like I was doing something dangerous.
The free Pepakura program shows you where each piece is meant to go on the final helmet, which is quite convenient because otherwise you have a worthless pile of foam squiggles. You just click on the piece in Pepakura and it highlights the same piece on the helmet. Nice.
At first, your project will look kind of stupid but if you are easily impressed as I am, you’ll be excited by how it is starting to look like a helmet-type-thing.
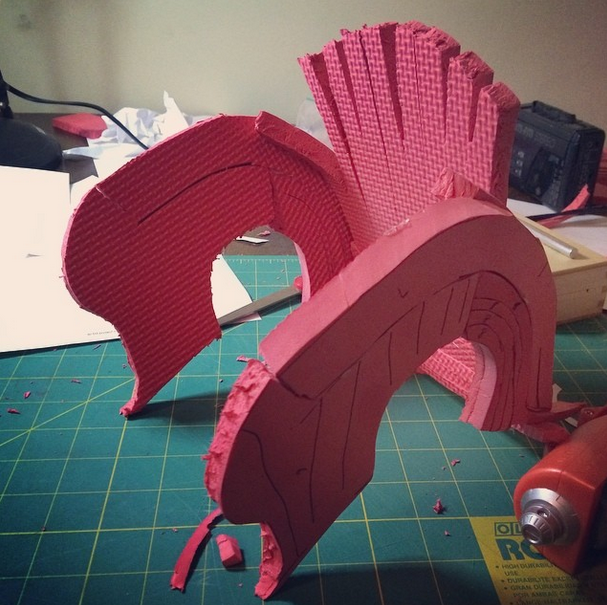
See?
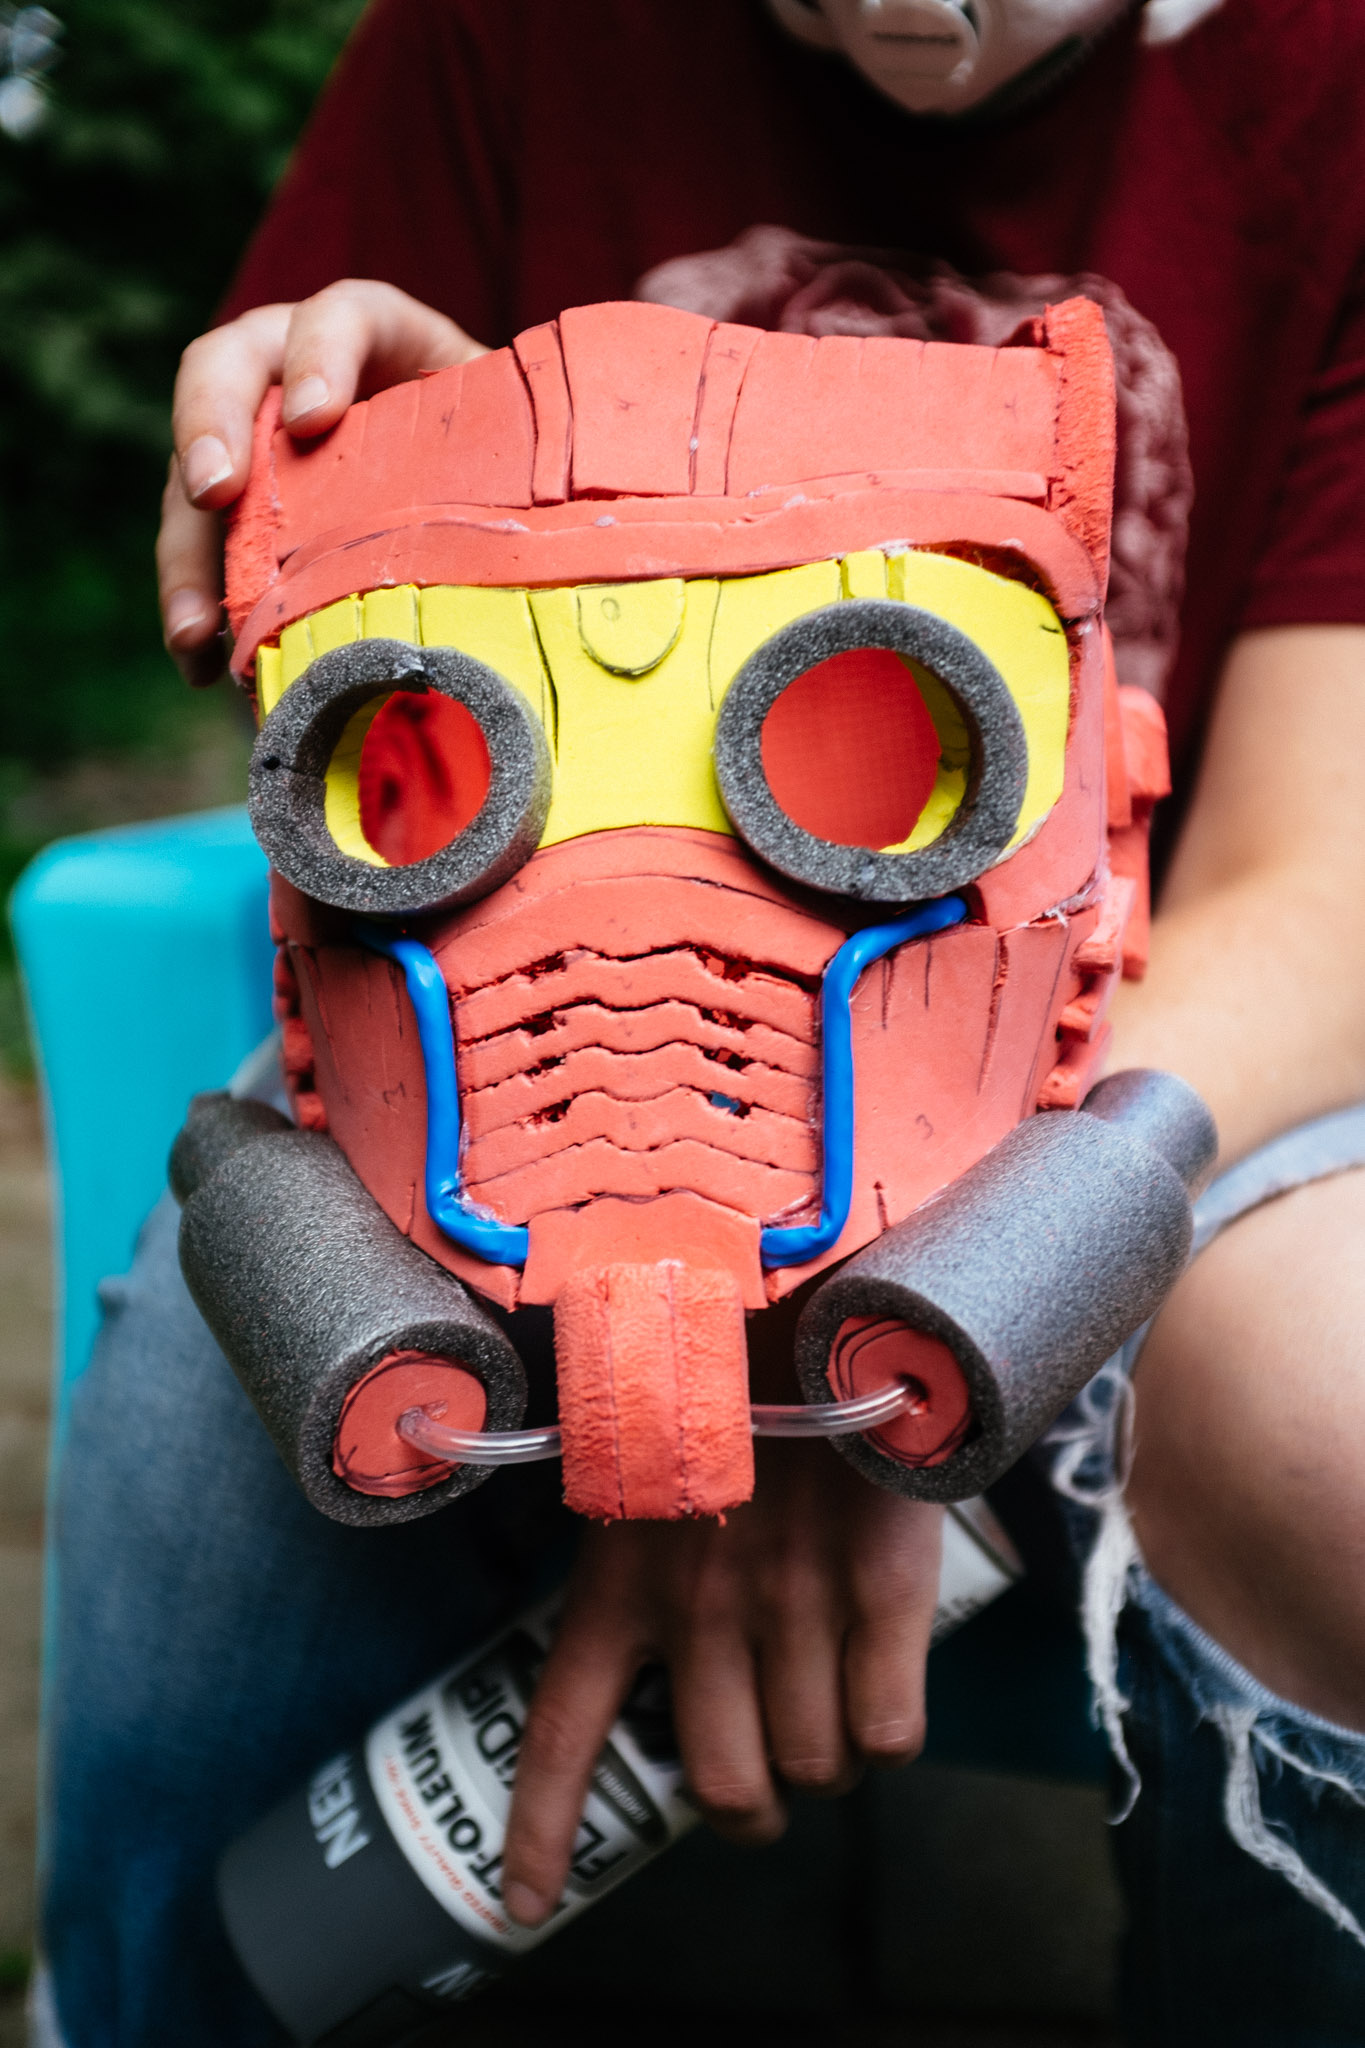
Once you have the major bits glued together, you can get creative with all the little bits. Instead of folding a piece of foam, I bought a long grey pool noodle for $2 and cut it up to make the oxygen canisters, and I used leftover tubing we had lying around (doesn’t everyone?) for the tubing on the side.
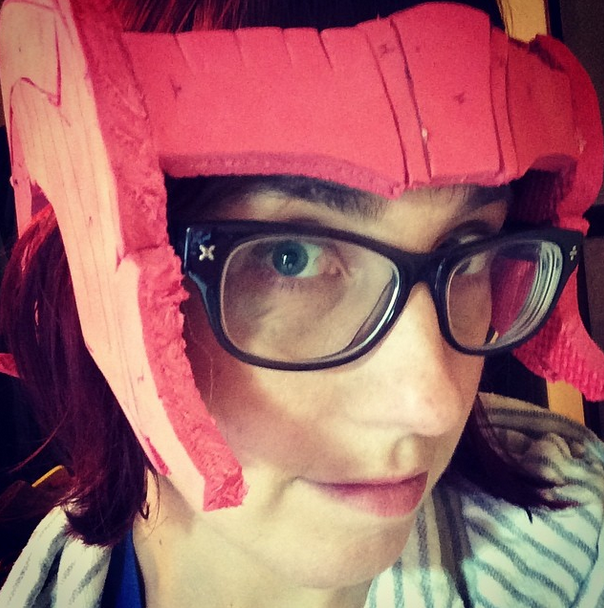
Once all the pieces were in place, I needed to paint the helmet. Unfortunately, spray paint doesn’t work well on EVA foam. Fortunately, there’s a special spray paint called Plasti-Dip (or another brand called Flexi-Dip) that basically covers the piece in plastic, priming it to be painted.
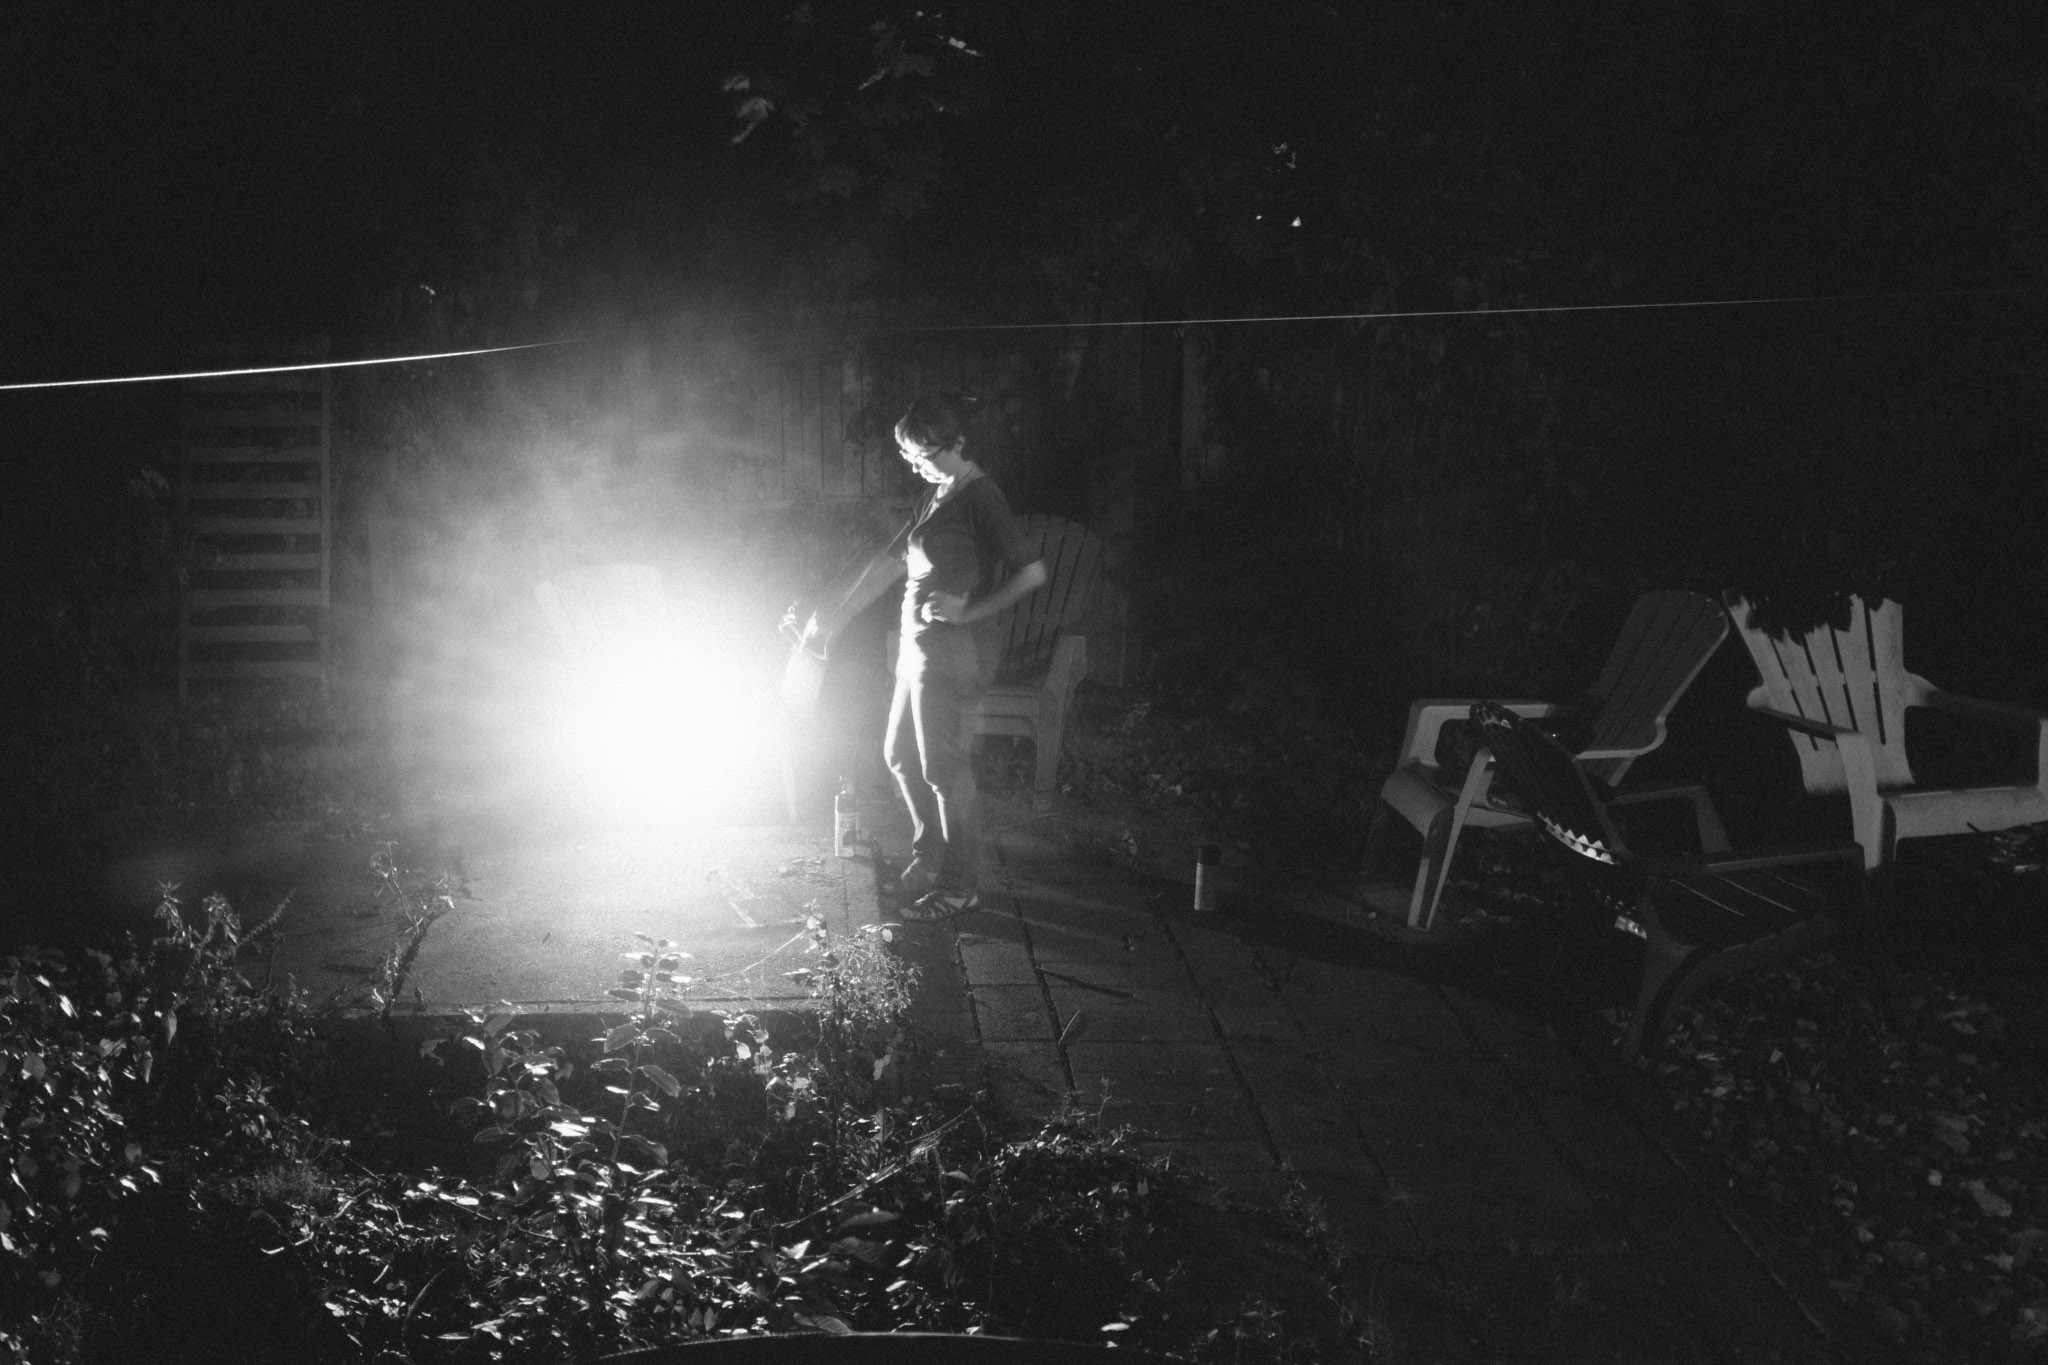
These sorts of sprays work great but they do smell like aerosolized cancer, so I picked up a $20 face mask and headed outside.
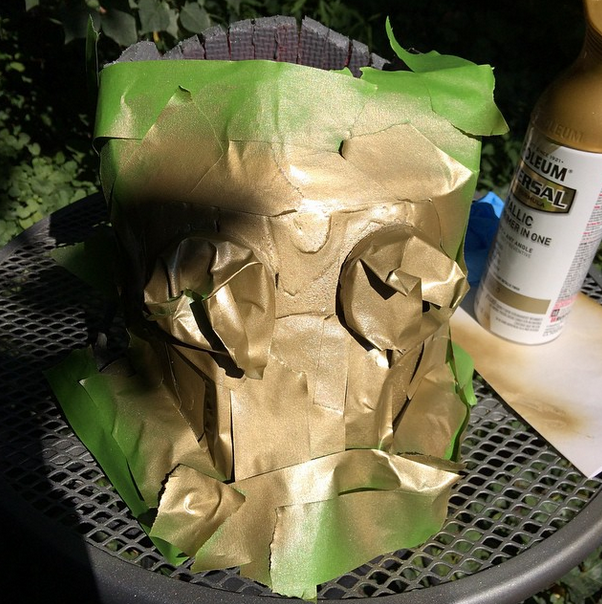
Many coats later, I taped off the helmet to paint most of it a matte gunmetal and the rest gold. I discovered that painter’s tape also doesn’t work well with foam. The standard blue stuff worked slightly better than the green Frog Tape, for what it’s worth (not much). It was a pain in the ass.
Finally, I needed lenses. StarLord’s lenses light up red, so this involved several steps that could probably be done differently and more easily, but: first we (this is where my boyfriend stepped in to help) used a circular drill bit to punch out some appropriately-sized plexiglass lenses. Then we colored them in with a red Sharpie. Then we scratched the hell out of them with sandpaper, except for at the very bottom of each lens, allowing me to just barely see out them. In the future, we’ll find some transparent lenses to make the helmet slightly less dangerous to wear.
I didn’t plan on making my helmet light up, but the night before we left for DragonCon I was sleeping soundly when around 3am my boyfriend woke me up. In the pitch black room he told me to put on the helmet. He then flicked a switch and blinded me for several minutes.
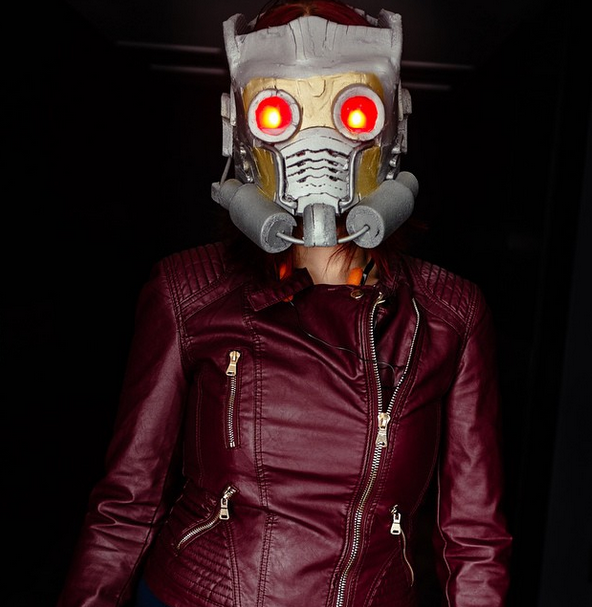
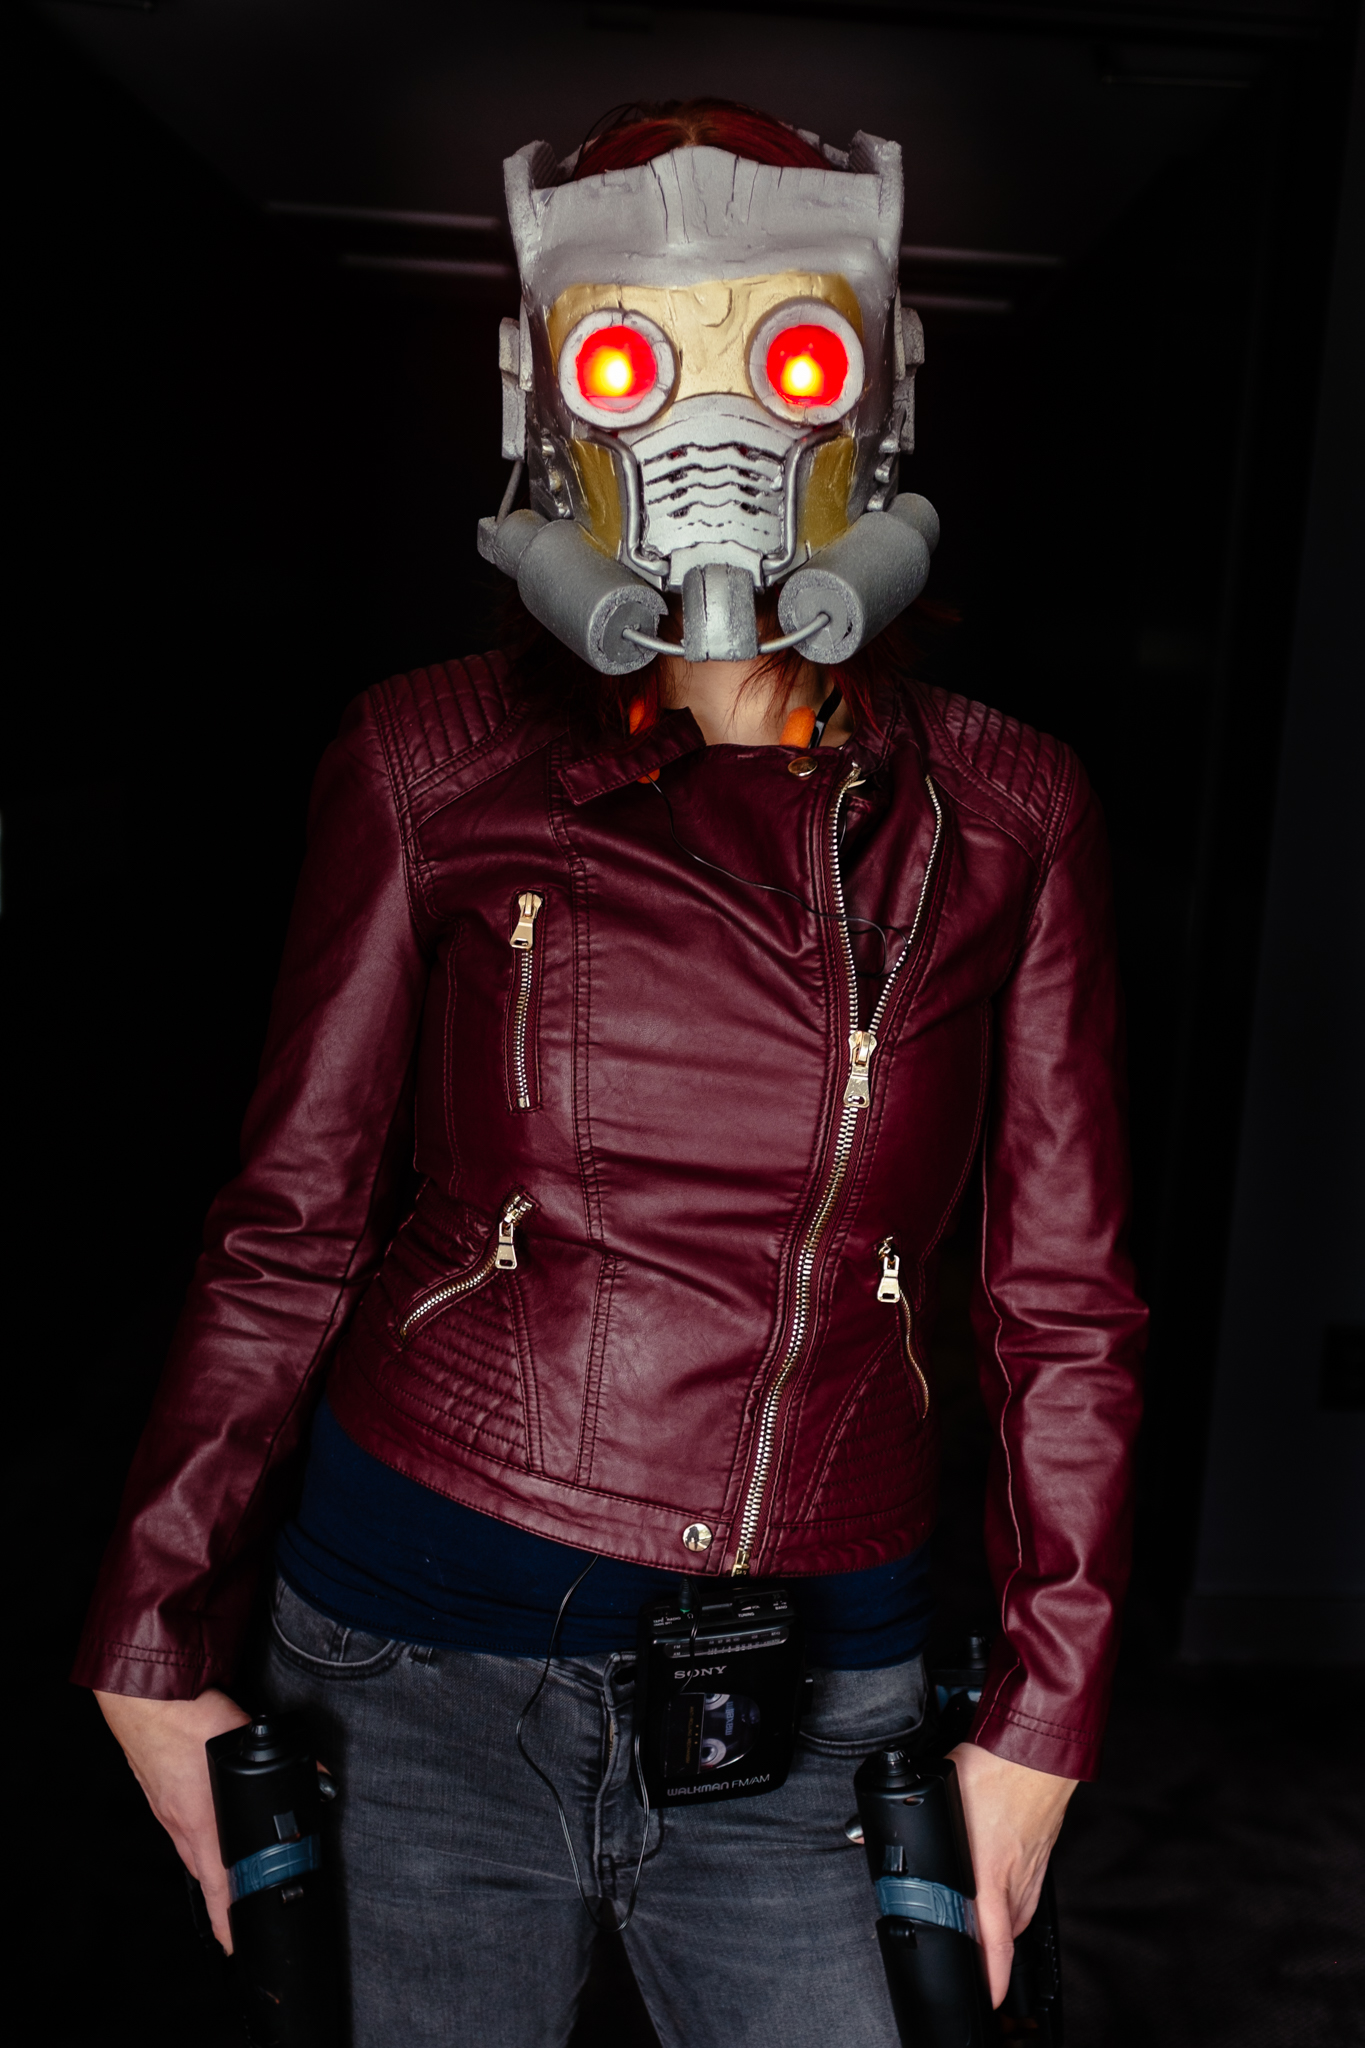
He had taken a few LEDs, put cardboard backing on them so they wouldn’t do permanent damage to my eyesight, and glued them behind the lenses. He hid the wiring and a single 9-volt battery in the oxygen canister, and glued an on/off switch to the bottom right side of the helmet. It hurt but it looked pretty great. Here’s the end result:
The Guns!
These were the other major piece I wanted. Happily, Nerf makes a really cool official Guardians of the Galaxy gun. The problem? It’s all safety orange and shit. I assumed that I’d have to take apart the guns (I ordered two) to paint them, but in the end I figured I’d try taping them off and painting them as is because I’m lazy. I chose to keep the grey color and make everything else black:
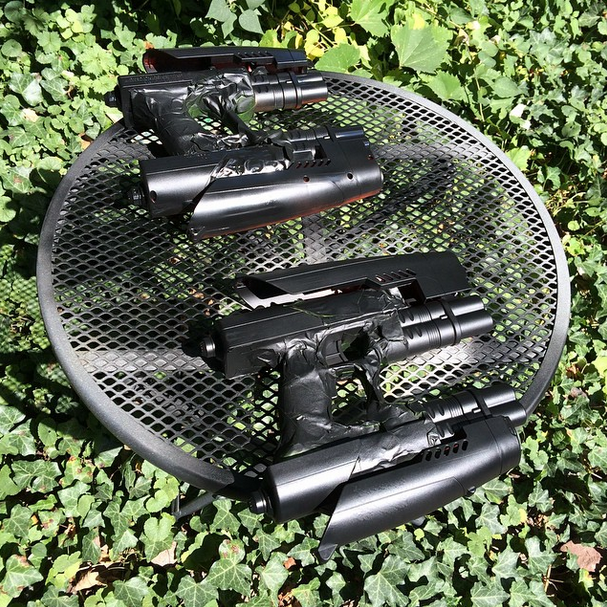
It worked pretty well!
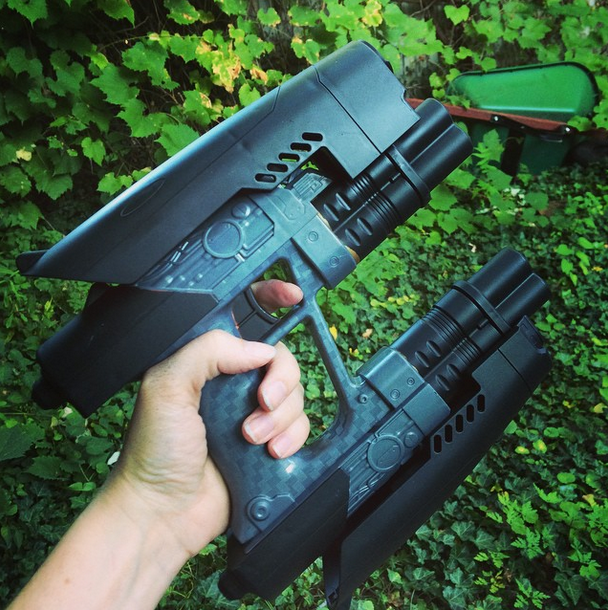
In the film, StarLord connects the guns to his hips in a cool, slightly mysterious way. To emulate this quickly, we used gaffer’s tape to secure super magnets to the handle of each gun, and then I slipped another magnet in each pocket. It’s kind of hard to tell in this photo, but I’m not holding the guns to my hips, here – I’m just resting my hands on them because I’m awkward. They stayed on me perfectly, even when I was walking or sitting down and standing up:
The Rest
We had the Walkman laying around, and I found the cheapo headphones on Amazon.co.uk. I found the jacket at my go-to store for easy cosplay: Forever 21. Here it is, but it probably won’t be for long because that’s how Forever 21 works.
Then I got some motorcycle-style jeans and a cheap tank from Old Navy, and some cheap-ass boots from Amazon. Presto! Done.
In the future, I’d like to make some better-looking boots with the little rockets on the side, and I’ll take a bit more time with helmet to make the glue neater. The Plasti-Dip didn’t cover nearly as much sloppiness as I had hoped. I also may paint the Walkman to match the style that Peter Quill uses. Other than those details, I’m pretty happy with everything.
If you have any questions, feel free to ask below!


This is awesome! If you have access to a 3D printer, I’m working on an Infinity Orb design free to download at Thingiverse here: http://www.thingiverse.com/thing:430184
Looks great!!
I’ve heard that electric carving knives work really well on foam.
Ah, I hadn’t heard that before! The x-acto worked really well so long as I replaced the blades promptly. All the jagged bits on the helmet are due to me using a dull knife. I incorrectly assumed I could easily sand down anything that looked bad…in the future I’ll always use a sharp knife.
Daisy is right, a electric knife works great because it is like sawing with a serrated knife without the instability of the actual sawing since the knife does it for you. Just make sure you get one with a duel blade so that it cross cuts.
My aunt does upholstery and she swears by her electric knife.
They make a “foam knife” as well, but its meant for doing styrofoam, and its kind of a long thin rod, attached to a soldering iron type base. It would work vastly better for this sort of foam if you could get one with a shorter rod, since the biggest pains where a) failing to let it get hot enough, and b) it being unwieldy and hard to work, due to the length. I tried other methods, including the exacto knife, and the results (maybe do to lack of patience), sucked. I was trying to do Mass Effect armor at the time, and, frankly, I think something got left out of the “instructions” for it too, since bits seemed to be missing from the guys template. :p
Someone else.. actually rigged their exacto blade to attach to a soldering iron they had around, but, those things may get a bit.. too hot, I think, even if it works.
In any case, I looked at this as a costume this year and just went, “Hell no”, purely due to the fact that a) I don’t have a leather jacket, b) I like to go as authentic as I can, if I can (I really wish we still had the exact model of the walkman from the movie, which, at one time we in fact did… sigh…), and c) I am not any place I could buy such a jacket, short of paying over a hundred on Amazon, or some place. So… Just going to have to try to fix the mistakes on mine from last year, which, as usual, I am doing at the last minute… lol